
ID printer ribbons play a major role in producing sharp, professional-looking ID cards. When a ribbon breaks or becomes damaged, printing can stop suddenly, slowing down operations and delaying card issuance. The good news is that many ribbon problems can be corrected quickly if you know what to look for. Here’s how to troubleshoot, repair, and prevent ribbon issues.
Spot the Problem Early
Ribbon damage usually shows up in your print results. You might see streaks, blank sections, faded color panels, or incomplete prints. If this happens, open your printer and visually inspect the ribbon cartridge for signs of tearing, twisting, or improper alignment.
Safely Remove the Ribbon
Use your printer’s manual as a guide to open the ribbon compartment. Lift the cover carefully and unlock the cartridge without forcing it. Once removed, set the ribbon cartridge on a flat, clean surface to prevent contamination.
Check the Condition of the Ribbon
Take a close look at the ribbon and identify the type of issue:
- Breaks or tears in the ribbon film
- Wrinkles or folds that could affect print consistency
- Twisted sections causing the ribbon to track incorrectly
Minor problems can often be corrected on the spot.
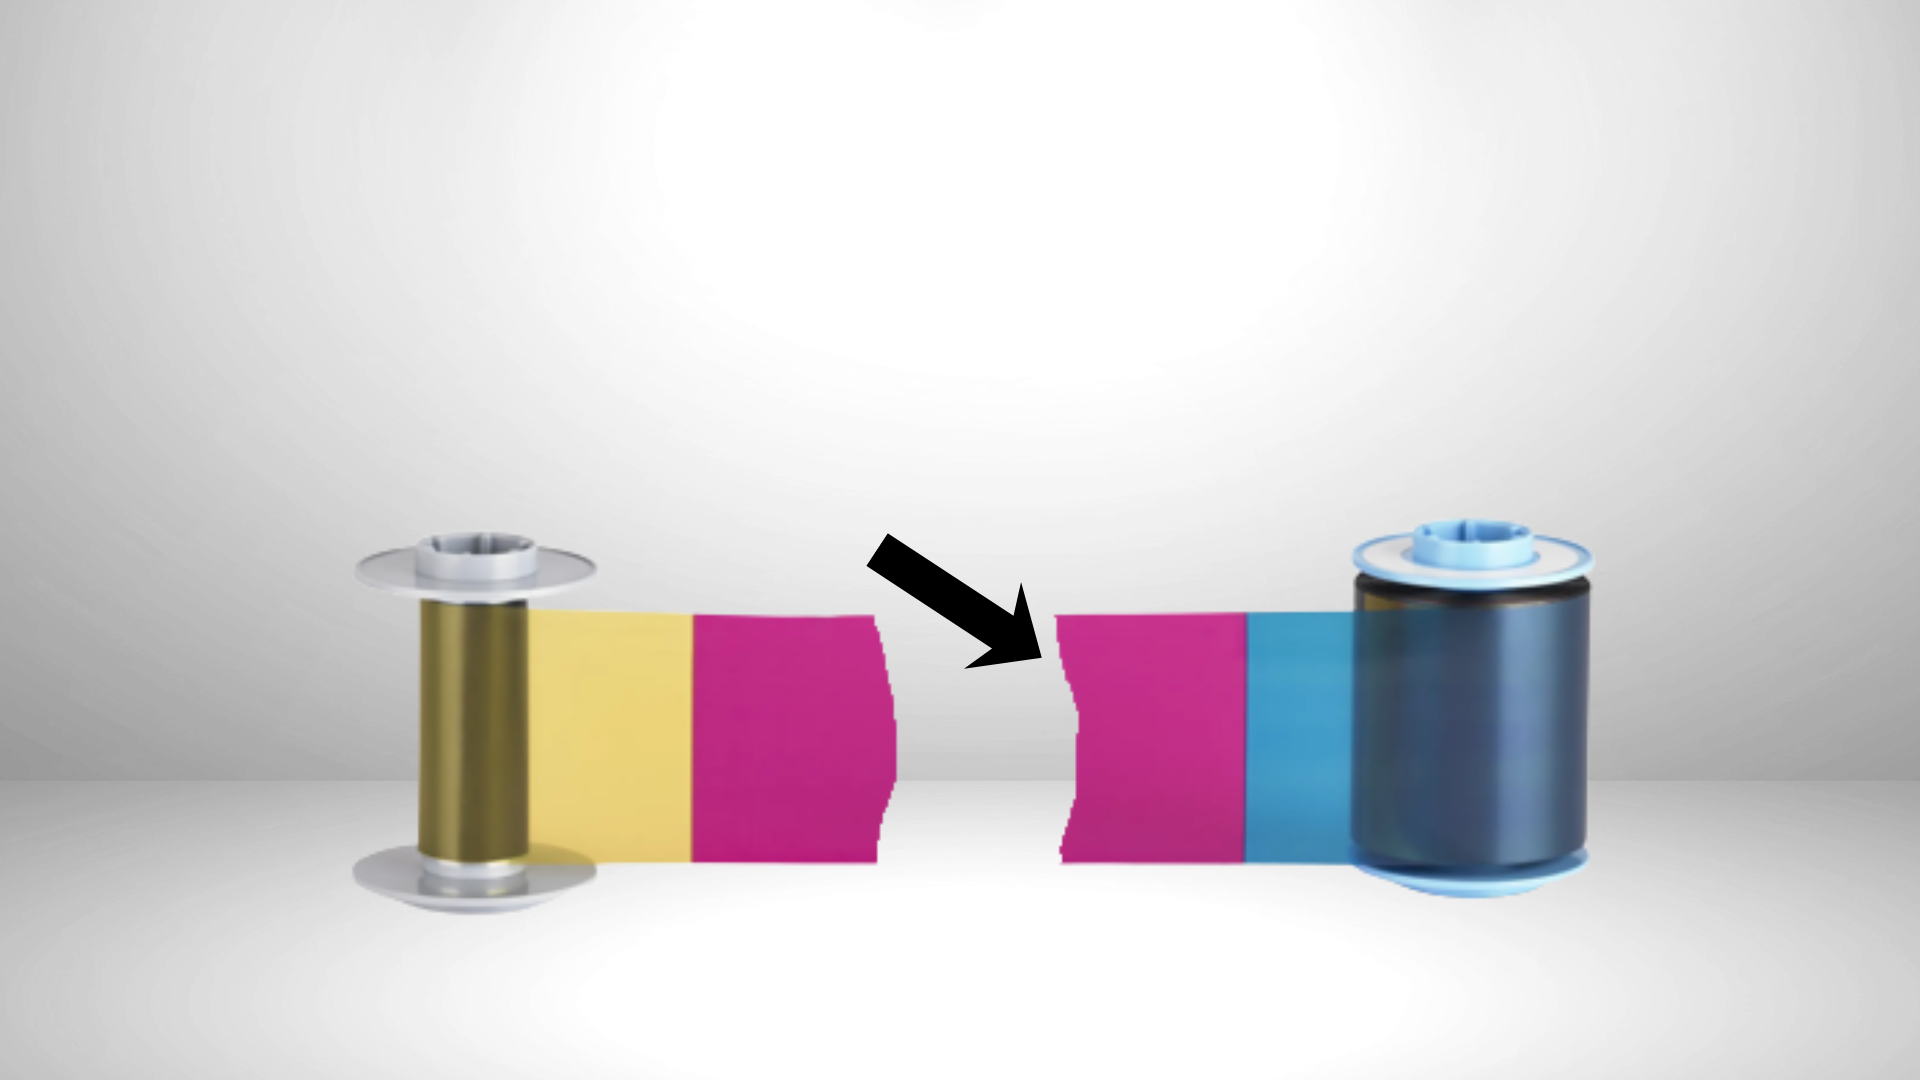
Repairing a Torn Ribbon
If the ribbon has snapped, you may be able to make a temporary fix:
- Line up the ends of the broken ribbon so they meet evenly.
- Use a small piece of clear tape to join the ends together.
- Trim any excess tape so it doesn’t interfere with the printer’s movement.
- Press firmly to secure the bond.
This type of repair can help you finish a print job, but heavily damaged ribbons should still be replaced.
Reinstall and Run a Test
After the repair:
- Rethread the ribbon if it shifted in the cartridge
- Reinstall the cartridge securely
- Close the printer and power it on
- Print a test card to confirm proper alignment and color output
If print quality still looks off, replacement may be necessary.
Know When to Replace the Ribbon
Some damage is simply too severe to fix reliably. If the ribbon continues to tear, wrinkle, or produce poor results, install a new ribbon designed specifically for your printer model. Using the correct supplies helps prevent repeat issues.
Reduce the Risk of Future Ribbon Problems
A few preventive steps can greatly extend ribbon life:
Keep the Printer Clean– Dust and debris inside the printer can snag the ribbon. Regularly clean the print path and internal components using approved cleaning kits.
Follow Routine Maintenance– Stick to the manufacturer’s maintenance schedule to keep rollers, sensors, and printheads in good condition.
Inspect Blank Cards– Make sure cards are free from dirt or particles before loading them. If cards need slot punches, perform that step after printing to avoid sharp edges that could tear the ribbon.
Adjust Your Print Design– On direct-to-card printers, printing too close to the card edge can cause ribbon stress and snapping. If you need full edge-to-edge coverage, a retransfer printer is better suited for that type of design.
Calibrate When Needed– After installing a new ribbon, recalibrate the ribbon sensor if your printer requires it. Proper calibration ensures the printer tracks ribbon panels accurately.
Need Help With Your ID Printer?
Knowing how to handle ribbon issues can save time and reduce downtime, but persistent problems may signal a larger issue. If you need guidance, supplies, or technical support, reach out to our team. We’re here to help keep your ID card printing running smoothly. Reach out now and our experts will help you identify the problem, recommend the right solution, and get your printer back to producing high-quality cards fast.