


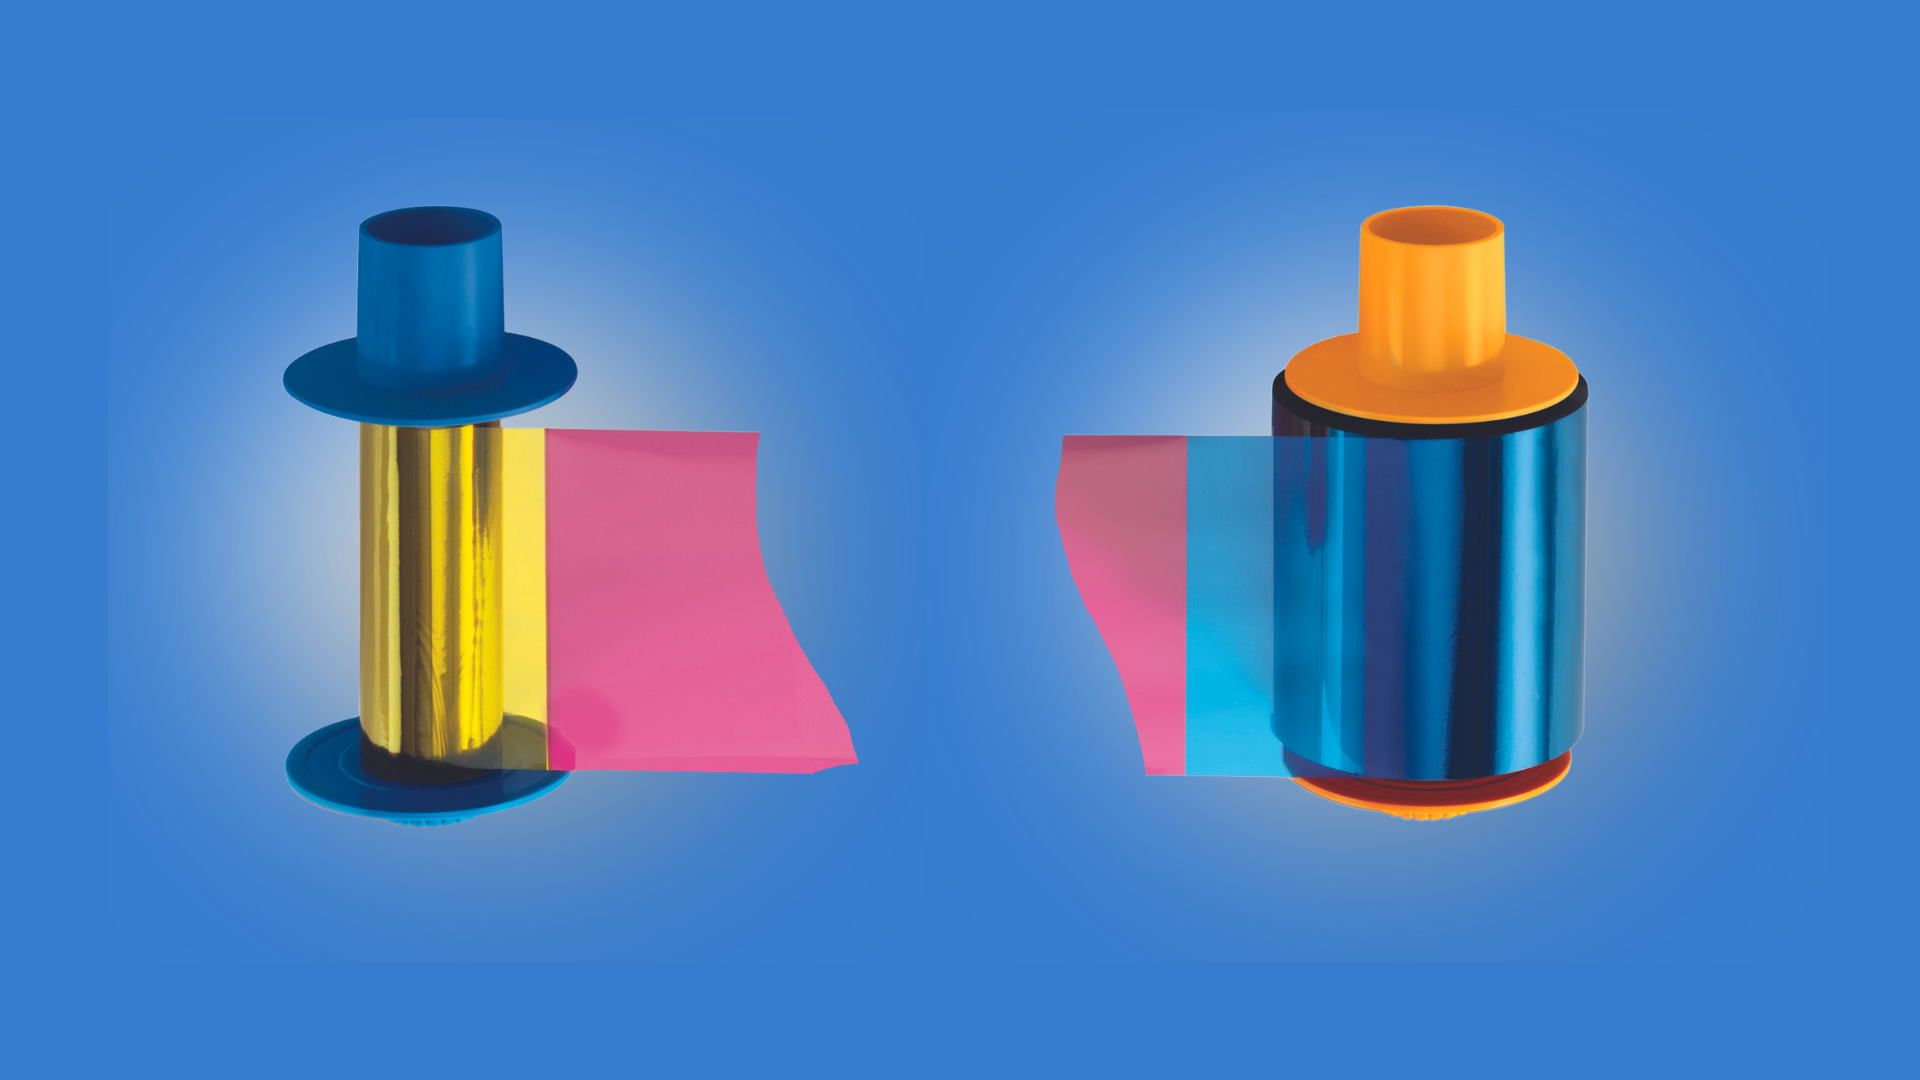
An ID printer ribbon is a crucial component for producing high-quality identification cards. However, encountering a broken ribbon can disrupt your printing operations. Knowing how to address this issue can save time and ensure continuous productivity. Here’s a step-by-step guide on repairing a broken ID printer ribbon:
1. Identify the Issue
When your ID printer stops printing or shows streaks and gaps, the ribbon might be broken or jammed. Open the printer and inspect the ribbon cartridge or ribbon supply to confirm the problem.
2. Remove the Ribbon Cartridge
Carefully open your ID printer following the manufacturer’s instructions. Typically, this involves unlocking and lifting the printer lid or front cover. Locate the ribbon cartridge inside the printer.
3. Inspect the Ribbon
Examine the ribbon for any tears, twists, or jams. If the ribbon is broken, carefully remove the damaged portion. Gently unwind any twists or snags in the ribbon to ensure smooth operation.
4. Fix the Ribbon with Tape
Trim Excess Tape: If the tape extends beyond the width of the ribbon, trim any excess to avoid interference with the printer mechanism.
Align the Ends: Bring the two broken ends of the ribbon together, ensuring they are properly aligned.
Apply Tape: Use a small piece of clear tape to join the two ends. Place the tape on one side of the ribbon and press firmly to ensure a secure bond.
5. Reset and Test
After re-threading the ribbon, close the printer cover or lid securely. Power on the printer and initiate a test print to ensure the ribbon is correctly installed and functioning. Use printer diagnostics or software to verify print quality and alignment.
6. Replace if Necessary
If the ribbon is severely damaged or continues to malfunction after re-threading, replace it with a new ribbon cartridge compatible with your printer model. Refer to the printer’s manual for guidance on replacement procedures.
7. Preventive Maintenance
To minimize the risk of future ribbon issues, perform regular maintenance on your ID printer. Clean the printer’s interior, including the ribbon path, to remove dust and debris that can cause jams or damage. Follow manufacturer recommendations for cleaning and maintenance intervals.
8. Check for Debris on Blank Cards
Ensure that your blank cards are free of debris before printing. If you use a slot punch to pre-punch your cards, imperfections (also known as “burrs”) can tear the ribbon. It is recommended to print your cards first and then punch the slot to avoid this issue.
9. Avoid Printing Too Close to the Edge
When using a direct-to-card (dye sublimation) printer, avoid printing too close to the edge of the card, as this can cause the ribbon to snap. Only retransfer printers are designed to print over the edge. A good practice is to adjust your card design by increasing the unprinted border around the edges or reducing the size of your images or text using your ID card software.
10. Clean Your Printer and Calibrate the Ribbon Sensor
Regularly clean your printer and calibrate the ribbon sensor to maintain optimal performance. You can find cleaning kits designed for your specific printer make and model on our Card Printer Supplies page. To calibrate the ribbon sensor, remove the ribbon from the printer and follow the instructions provided in your printer’s user manual.
Contact us today
Knowing how to repair a broken ID printer ribbon is essential for maintaining uninterrupted card production. By identifying the issue, safely removing and re-threading the ribbon, and conducting regular maintenance, you can effectively troubleshoot and resolve ribbon-related problems. Ensuring your printer operates smoothly guarantees consistent, high-quality ID card production for your organization’s needs. For more advanced troubleshooting or professional assistance, consult your ID printer’s manual or contact us to assist you.